
Recent

A Vaadin Starter Project with a Clear Focus
·12 mins
Many example projects overload the starting point by covering too many topics at once. Routing, data access, security, forms, theme customisations, and other integrations will then be presented in a single demo. This makes it more difficult for readers to recognise the project’s actual structure.

Practical i18n in Vaadin: Resource Bundles, Locale Handling and UI Language Switching
Modern web applications are rarely used only by users with the same language. Even internal tools often reach international teams or are used in different countries. A multilingual user interface is therefore not a luxury feature, but an important part of the user experience.
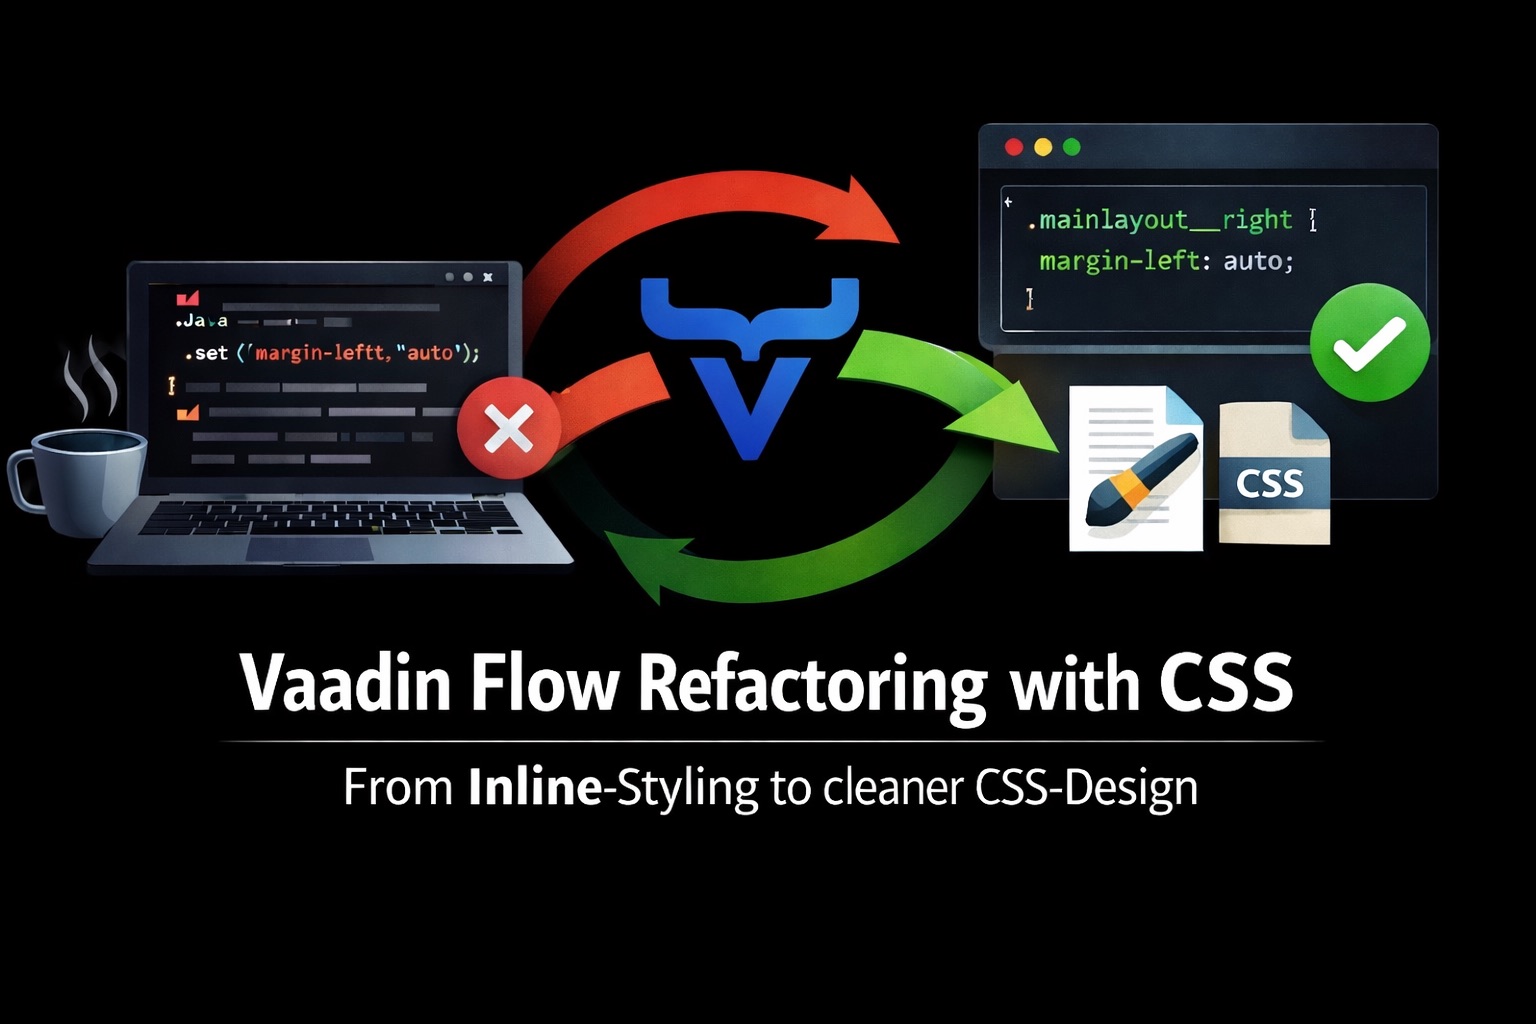
Separation of Concerns in Vaadin: Eliminating Inline Styles
Vaadin Flow enables the development of complete web applications exclusively in Java. Components, layouts, navigation, and even complex UI structures can be modelled on the server side without working directly with HTML or JavaScript. This approach is one of the main reasons why Vaadin is especially popular in Java-centric projects.

An unexpectedly hassle-free upgrade
·17 mins
The starting point for this article was not a strategic architecture workshop or a long-term planned migration path, but a comparatively unspectacular step: updating the version numbers in the existing project. As part of further developing my URL shortener project, a regular dependency update was due anyway. Vaadin 25 (was already available at that time, so it made sense to proceed.

The Importance of UI in Import Processes
·20 mins
Why an import needs a UI at all # Import functions are often treated as purely technical details in applications. Data is read in, processed and then made available – ideally without further interaction. In practice, however, an import is rarely an invisible process. It marks a transition between existing system states, between old and new data, between trust and control. This is exactly where the need for a user interface arises.

JSON export in Vaadin Flow
·15 mins
Export functions are often seen as a purely technical side task: one button, one download, done. In a Vaadin-based application, however, it quickly becomes apparent that exporting is much more than writing data to a file. It is a direct extension of the UI state, an infrastructural contract between frontend and backend, and a decisive factor for maintainability and predictability.